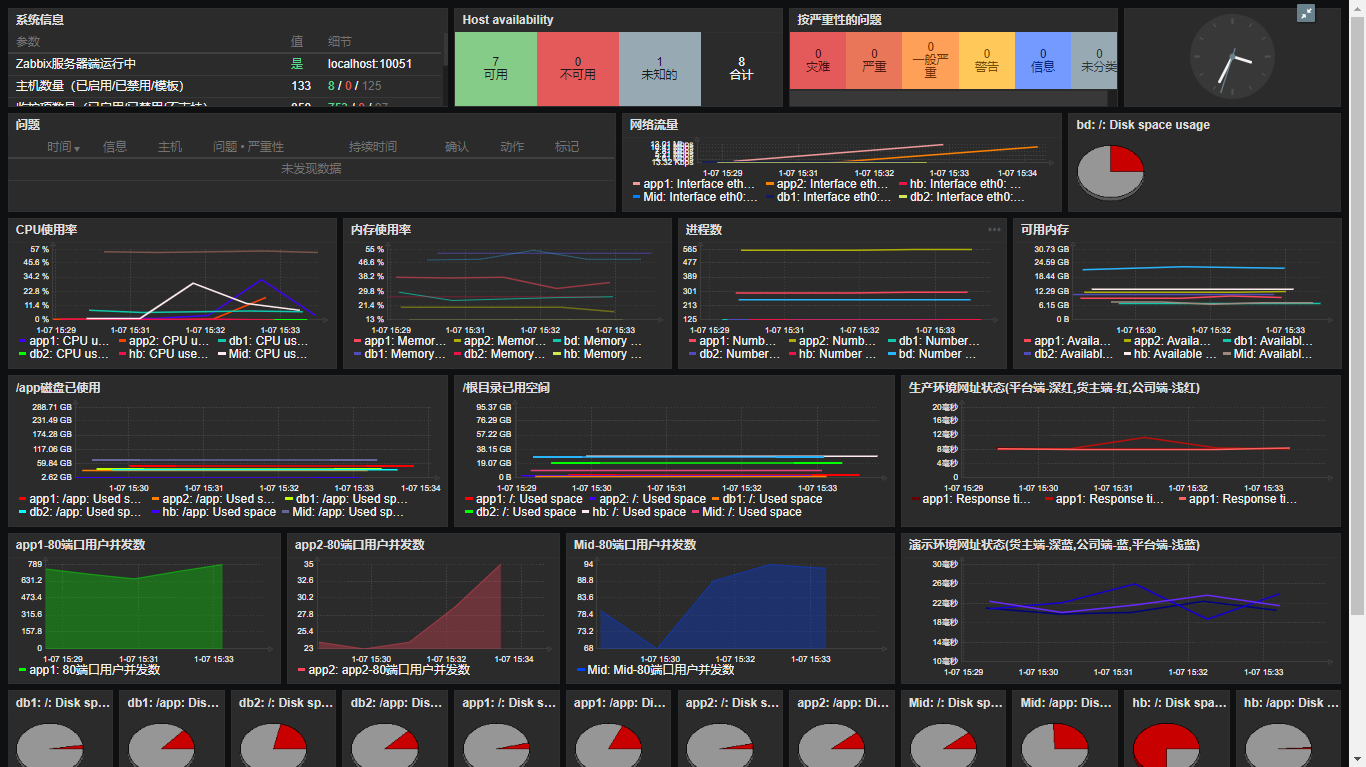
Centos7.6环境部署zabbix
部署环境:
Centos7.6
Zabbix 4.4.0
部署前环境准备或清理:
关闭SeLinux
vi /etc/selinux/configSELINUX=disabled
yum remove mariadb
rm -rf /etc/my.cnf
rm -rf /var/lib/mysql/
一. zabbix监控主机的安装
1、安装apache
yum install -y httpd
httpd服务开机进行自启
systemctl enable httpd
Created symlink from /etc/systemd/system/multi-user.target.wants/httpd.service to /usr/lib/systemd/system/httpd.service.
启动httpd服务
systemctl restart httpd
2、安装mysql
因为7版本mysql要收费,所以我们安装mariadb
yum install -y mariadb mariadb-server
开机自启动
systemctl enable mariadb
运行服务
systemctl restart mariadb
systemctl status mariadb
mysql_secure_installation
MariaDB
vi /etc/my.cnf.d/server.cnf
注释掉skip-networking选项来开启远程访问
查看Mariadb是否安装成功,输入命令:
mysql
3、安装php环境
yum install -y php php-mysql
4、安装zabbix
(1)下载包
cd /opt/software/
wget http://repo.zabbix.com/zabbix/4.4/rhel/7/x86_64/zabbix-release-4.4-1.el7.noarch.rpm
rpm -ivh zabbix-release-4.4-1.el7.noarch.rpm
(2)安装zabbix的包
yum install -y zabbix-agent zabbix-server-mysql zabbix-get zabbix-web zabbix-web-mysql zabbix-sender
4、创建一个zabbix库并设置为utf8的字符编码格式
mysql -uroot -p
delete from mysql.user where user='';
create database zabbix character set utf8 collate utf8_bin;
show databases;
+--------------------+
| Database |
+--------------------+
| information_schema |
| mysql |
| performance_schema |
| test |
| zabbix |
+--------------------+
创建账户并且授权设置密码
grant all privileges on *.* to 'root'@'localhost' identified by 'RootUserPasswd' with grant option;
grant all privileges on *.* to 'zabbix'@'localhost' identified by 'zabbixUserPasswd' with grant option;
grant all privileges on zabbix.* to zabbix@localhost identified by 'zabbixUserPasswd';
grant all privileges on zabbix.* to 'zabbix'@'%' identified by 'zabbixUserPasswd' with grant option;
flush privileges;
5、导入表
切换到此目录下
cd /usr/share/doc/zabbix-server-mysql-4.4.0/
ls
AUTHORS ChangeLog COPYING create.sql.gz NEWS README
ls
AUTHORS ChangeLog COPYING create.sql NEWS README
对表进行导入
mysql
use zabbix;
source create.sql
6、配置zabbix server配置文件
配置文件目录
cd /etc/zabbix
zabbix_server.conf关键配置发下:
vim /etc/zabbix/zabbix_server.conf
DBHost=localhost
DBName=zabbix
DBUser=zabbix
DBPassword=zabbix
DBSocket=/tmp/mysql.sock
运行zabbix-server服务
开机自启zabbix-server服务
systemctl status zabbix-server
systemctl restart zabbix-server
7、配置php时区
vi /etc/httpd/conf.d/zabbix.conf
php_value date.timezone Asia/Shanghai
保存退出
systemctl restart httpd
8、登陆zabbix网址设置
http://localhost/zabbix/setup.php
登陆账户是Admin
密码是zabbix
二. zabbix的安装
有外网
rpm -ivh http://repo.zabbix.com/zabbix/4.4/rhel/7/x86_64/zabbix-release-4.4-1.el7.noarch.rpm
yum install -y zabbix-agent
没有外网
wget http://repo.zabbix.com/zabbix/4.4/rhel/7/x86_64/zabbix-agent-4.4.0-1.el7.x86_64.rpm
rpm -ivh zabbix-agent-4.4.0-1.el7.x86_64.rpm
mv /etc/zabbix/zabbix_agentd.conf /etc/zabbix/zabbix_agentd.bak
vim /etc/zabbix/zabbix_agentd.conf
Server=服务器本地Ip,127.0.0.1
ServerActive=服务器本地Ip,127.0.0.1
Hostname=Zabbix server
PidFile=/var/run/zabbix/zabbix_agentd.pid
LogFile=/var/log/zabbix/zabbix_agentd.log
LogFileSize=0
Include=/etc/zabbix/zabbix_agentd.d/*.conf
UnsafeUserParameters=1
AllowRoot=1
DebugLevel=3
zabbix服务状态或重启
systemctl status zabbix-agent
systemctl restart zabbix-agent
问题集:
1.解决中文乱码无法显示的问题
ftp上传simsun.ttf(来自C:\Windows\Fonts\)文件夹
cp simsun.ttf zabbix-web:/usr/share/zabbix/assets/fonts/simsun.ttf
vim /usr/share/zabbix/include/defines.inc.php
define('ZBX_GRAPH_FONT_NAME', 'DejaVuSans');
define('ZBX_FONT_NAME', 'DejaVuSans');
改
define('ZBX_GRAPH_FONT_NAME', 'simsun');
define('ZBX_FONT_NAME', 'simsun');
2. Zabbix discoverer processes more than 75% busy
解决办法:
修改zabbix_server.conf中discovery进程数量;
#StartDiscoverers可根据设置的discovery任务数量设置,范围是0~250
sed -i 's|# StartDiscoverers=1|StartDiscoverers=2|g' /etc/zabbix/zabbix_server.conf
即:
将#StartDiscoverers=1 改为: StartDiscoverers=10

正文到此结束
- 本文标签: Linux
- 本文链接: https://www.jimmy2k.top/article/280
- 版权声明: 本文由JimmyZ的个人博客原创发布,转载请遵循《署名-非商业性使用-相同方式共享 4.0 国际 (CC BY-NC-SA 4.0)》许可协议授权


